Industry Insights
How to Terminate Ethernet Cable
December 28, 2017 | Nickle Electrical
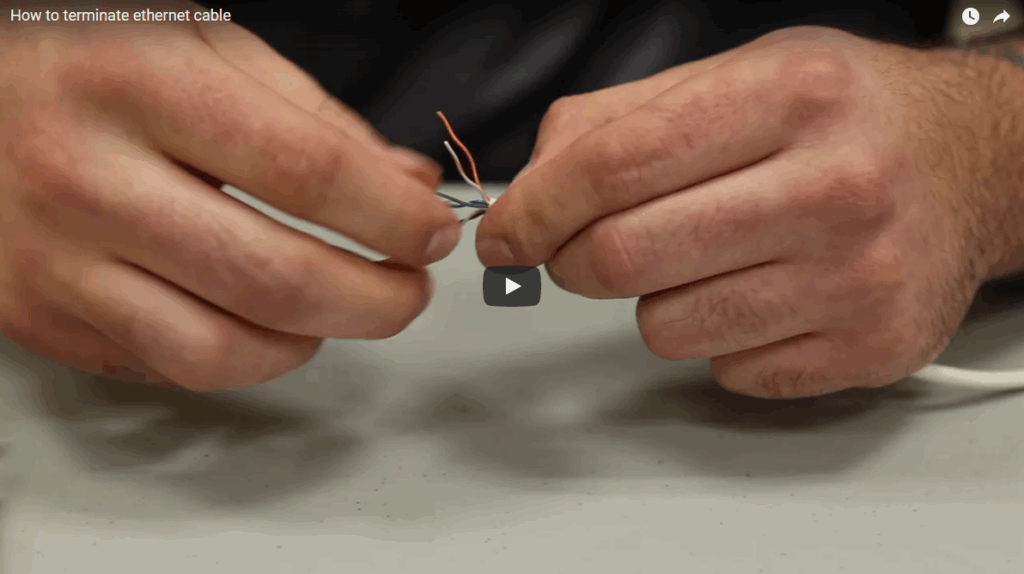
In this Nickle video, Project Manager Jon Harrison demonstrates how to terminate CAT 5 cable into an RJ-45 end.
Knowing how to properly terminate ethernet cable is an essential skill for any electrician working with low-voltage data systems. Whether you’re running network cables for a new office buildout or troubleshooting connectivity issues on a job site, understanding the proper technique ensures reliable connections and minimizes callbacks.
What You Need
- CAT 5 or CAT 5e cable
- RJ-45 connectors
- Crimping tool
- Cable stripper
- Cable tester
The Process
- Strip the jacket — Use a cable stripper to remove about 1.5 inches of the outer jacket, being careful not to nick the inner wires
- Untwist and arrange — Separate the four pairs and arrange the individual wires according to the T-568B wiring standard (orange-white, orange, green-white, blue, blue-white, green, brown-white, brown)
- Trim to length — Cut the wires evenly so they extend about half an inch from the jacket
- Insert into connector — Slide the wires into the RJ-45 connector, making sure each wire reaches the end and the jacket sits inside the connector
- Crimp — Use the crimping tool to secure the connector
- Test — Always test your termination with a cable tester to verify all eight conductors are properly connected
Proper termination technique is the difference between a reliable network connection and one that causes intermittent issues down the road. Take your time, follow the color code, and always test your work.